Tuesday, 26 January 2016

Bobbin Tension Tips


This amazing image shows just how the top and bottom threads work together to create the perfect stitch. See how the yellow and green threads meet right in the middle of the fabric. This is what perfectly balanced tension looks like on a lock stitch sewing machine. 

Most tension problems can be fixed by adjusting the top tension dial on your sewing machine. But sometimes you will need to adjust the bobbin tension to balance your tension. Adjusting your bobbin tension is easier than you think. We'll show you why and how.

I love thread!! All kinds; cotton, silk, gorgeous light reflecting tri-lobal polyester, metallics, even glow in the dark. As a quilter, sometimes I like thread to blend in so I might use a thin very fine thread. Sometimes I may want thread to stand out so I use a thicker thread for a bolder line. But I also use thread for piecing and binding, appliqué and embellishing. This is why we need to adjust thread tension. 

If I want to use a variety of threads in lots of different ways I will need to make tension adjustments. I'll always try the top tension dial first, If that doesn't solve the problem then I move on to the bobbin.


Sometimes the bobbin tension has been set too tight at the factory. This is a common problem and is easy to fix. Take your bobbin case out of the machine. Hold the tail of the thread like in the diagram on the left, once again compliments of sew it simple. Hold the tail of thread firmly and give it a short sharp shake. It should drop a couple of inches and then stop. 


If it doesn't drop then the bobbin tension is too tight. Get a small screw driver. Look at the screw. Think of the line in the screw like the minute hand on a clock. You are only going to turn the screw in very small 15 minute increments. Remember righty-tighty and lefty-loosey. Turn the screw a quarter turn to the left and give it another shake. If it still does not drop, repeat the process. If it drops too far or too fast then tighten it up a bit righty-tighty. Be sure to keep track of how many quarter turns you make so that you can get back to where you started.


How to adjust Bobbin Tension by Superior Threads


For free-motion machine quilting I am finding that a looser bobbin tension works best for me. If my bobbin tension is loose enough then I am able to maintain a good thread balance by simply adjusting the top tension dial as I work with a variety of different threads.

Monday, 25 January 2016

Top Tension Tips

look closely and you'll see the top tension is pulling the bobbin thread to the top
We like to think of the perfect stitch 
as a love affair between the top and bottom threads. 

But no relationship is automatically perfect.

Most sewing machines are pre-set at the factories for sewing garments with a mid-weight thread on mid-weight fabric.That's fine if you're sewing clothes but what if you're doing something else? If you are quilting multiple layers, stitching heavy or light weight fabric, doing appliqué, free-motion embroidery or embellishing you may find that the top tension is too tight. 


Here's a good close up showing what the stitching looks like when the top tension is too tight. Notice how the top thread is pulling the bobbin thread up through the fabric layers to the top. You can see this especially around the curves. Some people call these 'eyelashes', and show up on curves when the top tension is pulling the bobbin thread up to the top fabric.


In the following close up photos you can see skipped stitches as well as the thread shredding and breaking.


Notice how the top pink thread is pulling the bottom red thread to the top.


 Here you can see how the  tight top tension is causing skipped stitches.


Here you can see the thread shredding.


Fixing the too tight top tension is easy. 
Turn your tension dial to the left: 
"Lefty-Loosey" 
Many tension problems are caused by too tight top tension. Learning to loosen the top tension dial will solve the problem. Turn it a bit to the left then do a bit of stitching to see how the adjustment is playing out. If it is still too tight, loosen it a bit more and try stitching again. Keep on loosening the tension dial and checking the stitching until you have the perfect stitch. The perfect stitch is when the top and bottom threads are evenly balanced and meet in the middle. This diagram from My Childhood Treasures on their How to use a sewing machine page  gives a good idea of how it works.


Sometimes the top tension is too loose.When this happens the bobbin thread pulls the top thread to the back of the project looking like this...

look at the metallic top thread showing up on the back 


Once again it's easy for fix the top tension when it's too loose. 
Simply turn the dial to the right to tighten the tension.
"Righty-Tighty"


We like to think of the perfect stitch
as a love affair between the top and bottom thread.

But even the best relationship can turn into a tug of war. 


Sometimes getting your top and bottom threads balanced 
so they meet in the middle requires a little adjustment. 

Making little adjustments as you go along 
will keep you stitching 
happily ever after.


Tuesday, 5 January 2016

Say it with Selvedge


I've been collecting selvedges for years. So when our son Pete turned ten I decided to make a space table runner to go with our space themed party.

We had lots of fun with bright colours, costumes and glow-in-the-dark toys.


I decided to 'go for modern' and straight stitch the table runner. I used glow in the dark NiteLite Extra Glow thread from Superior Threads and then some brightly coloured variegated threads from the Rainbows range. I like how the straight stitches showed the one inch colour change.


By choosing different words from the selvedge labels I was able to write a birthday message to Peter.

Did you know that selvage can be spelled two ways? Since I started following Karen Griska's selvage blog I've been saving selvages. When we decided to have a Space themed party to celebrate Pete's 10th Birthday, I wanted to make a table runner. I had some great fabric that would be fun to work with. I also had a pile of selvedges that I'd been saving. I've been wanting to use them but wasn't sure how.

Then I got an idea. Peter was turning 10. I thought that I could use the colour dots on the selvedges that went up to 10. And, of course, count downs from 10 went well with the space theme.While I was counting dots I started finding some fun words and it occurred to me that I could piece them together to make a message. Martha is such an unusual name, I couldn't believe my luck when I came across it on the edge of some Rowan fabric.

In the end I was able to 'say it with selvedge' just for fun.


Wednesday, 30 December 2015

Glow-in-the-Dark Thread


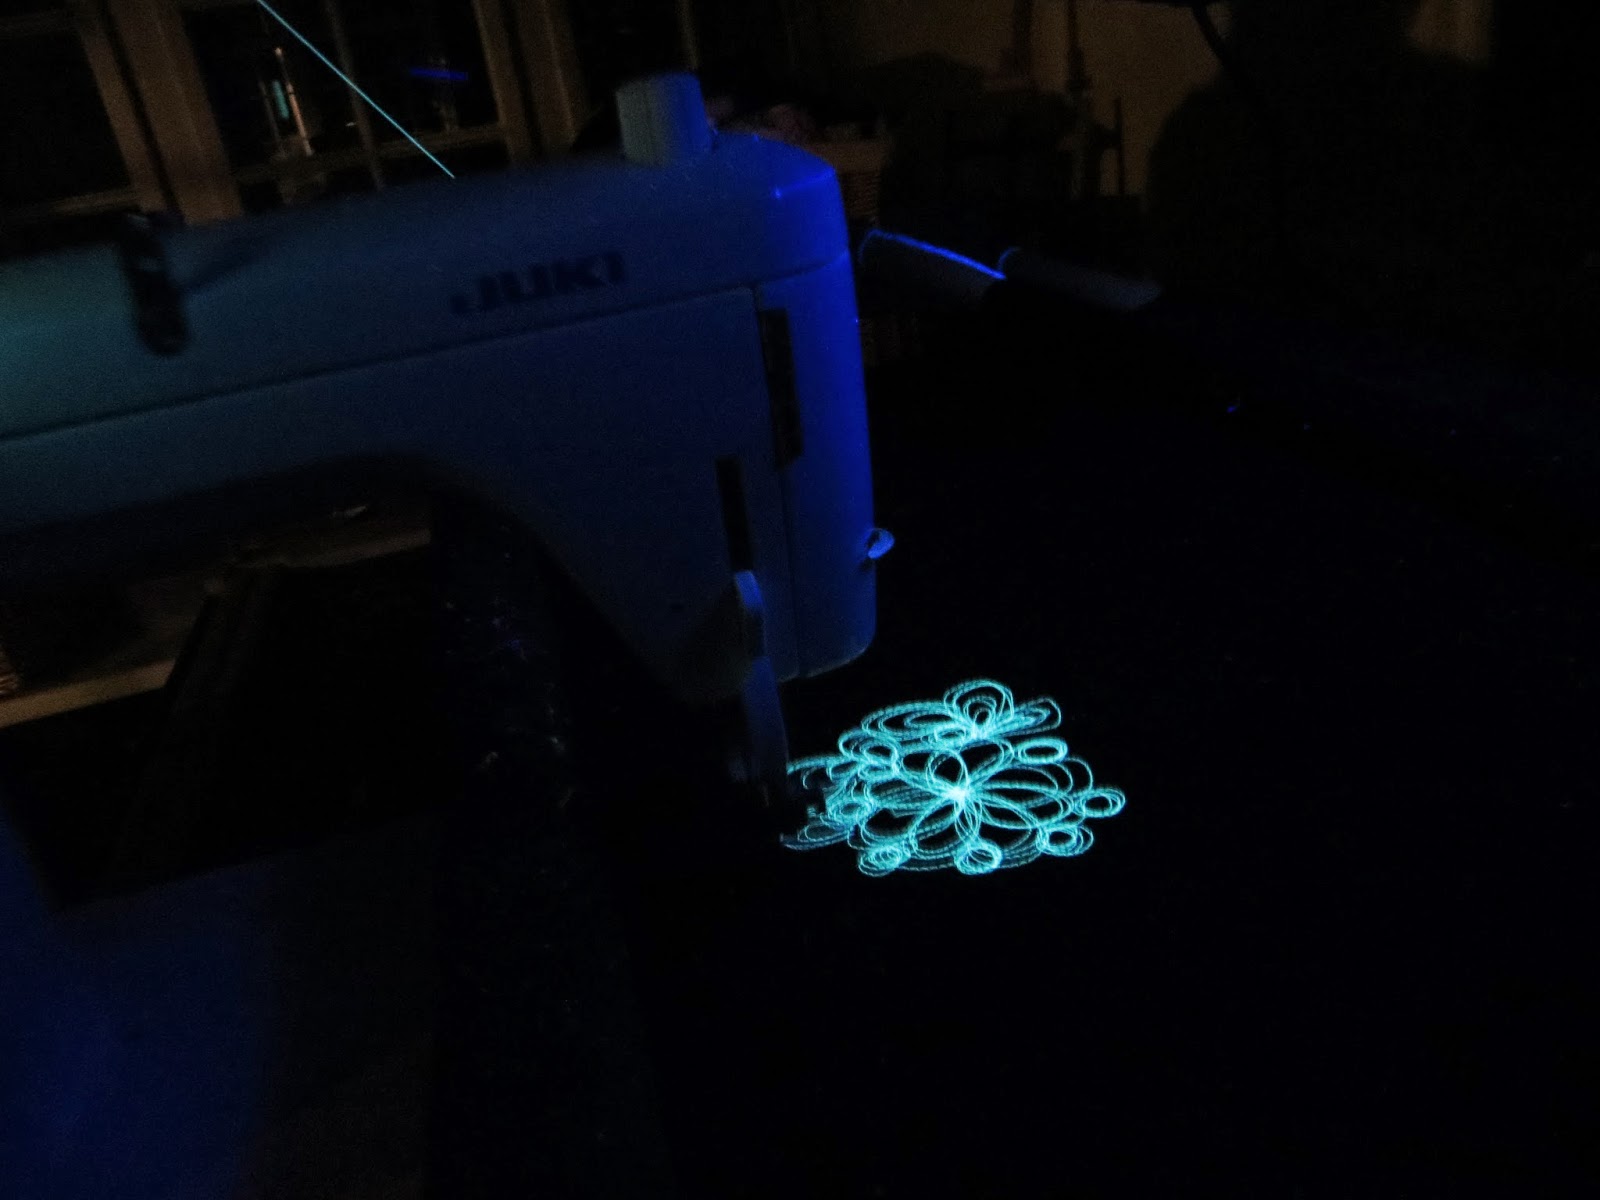
With all the excitement about the new Star Wars, I thought it was a good time to post about NiteLite Extra Glow-in-the-dark threads. Here's a photo taken with a black light (the pink light sabre on the left!) My son's girlfriend Jade is using my JUKI TL98P straight stitch sewing machine on our 6 foot New English Quilter frame.


Follow the link to the Superior Threads education pages to find out how glow-in-the-dark threads work and how you can use them in your projects.

NiteLite Extra Glow glow-in-the-dark threadn my JUKI TL98P straight stitch sewing machine

 NiteLite Extra Glow shows up so well in Black lighting, but it shows up well in natural light too.

NiteLite really comes into it's own during these dark winter nights. I have a feeling that anything remotely related to Star Wars is going to be very popular this season. 500 yd cross-wound cones of NiteLite are available here  in the UK from the Machine Quilter shop.
NiteLite available here in the UK from Machine Quilter

Friday, 18 December 2015

Quilting a Christmas Card

The whole time that my mom was piecing the Christmas Tree card quilt, she and I were discussing how to quilt it. We decided that we wanted to quilt a garland of holly and ivy in the wide red border.

For me, the first step in quilting a new pattern is always to practise it on paper before I even think about approaching the machine. I have a huge long roll of tracing paper that I like to use for practising my quilting designs. I practised the pattern below for a couple hours (the image is slightly grainy because tracing paper doesn't seem to like being photographed!). Mom even brought me in some ivy from the garden so I could try and copy it more accurately!


Then came the actual quilting! We loaded the quilt onto the frame, and then auditioned some threads to see which ones we would use first.  


We ended up using  King Tut #988 Oasis for the garland. The King Tut creates a beautifully bold line, and we really wanted the quilting to stand out. In the image below, you can see the end of the garland. this is actually two layers of thread - I used Twist, and then King Tut #988. The berries were done using Magnifico. 


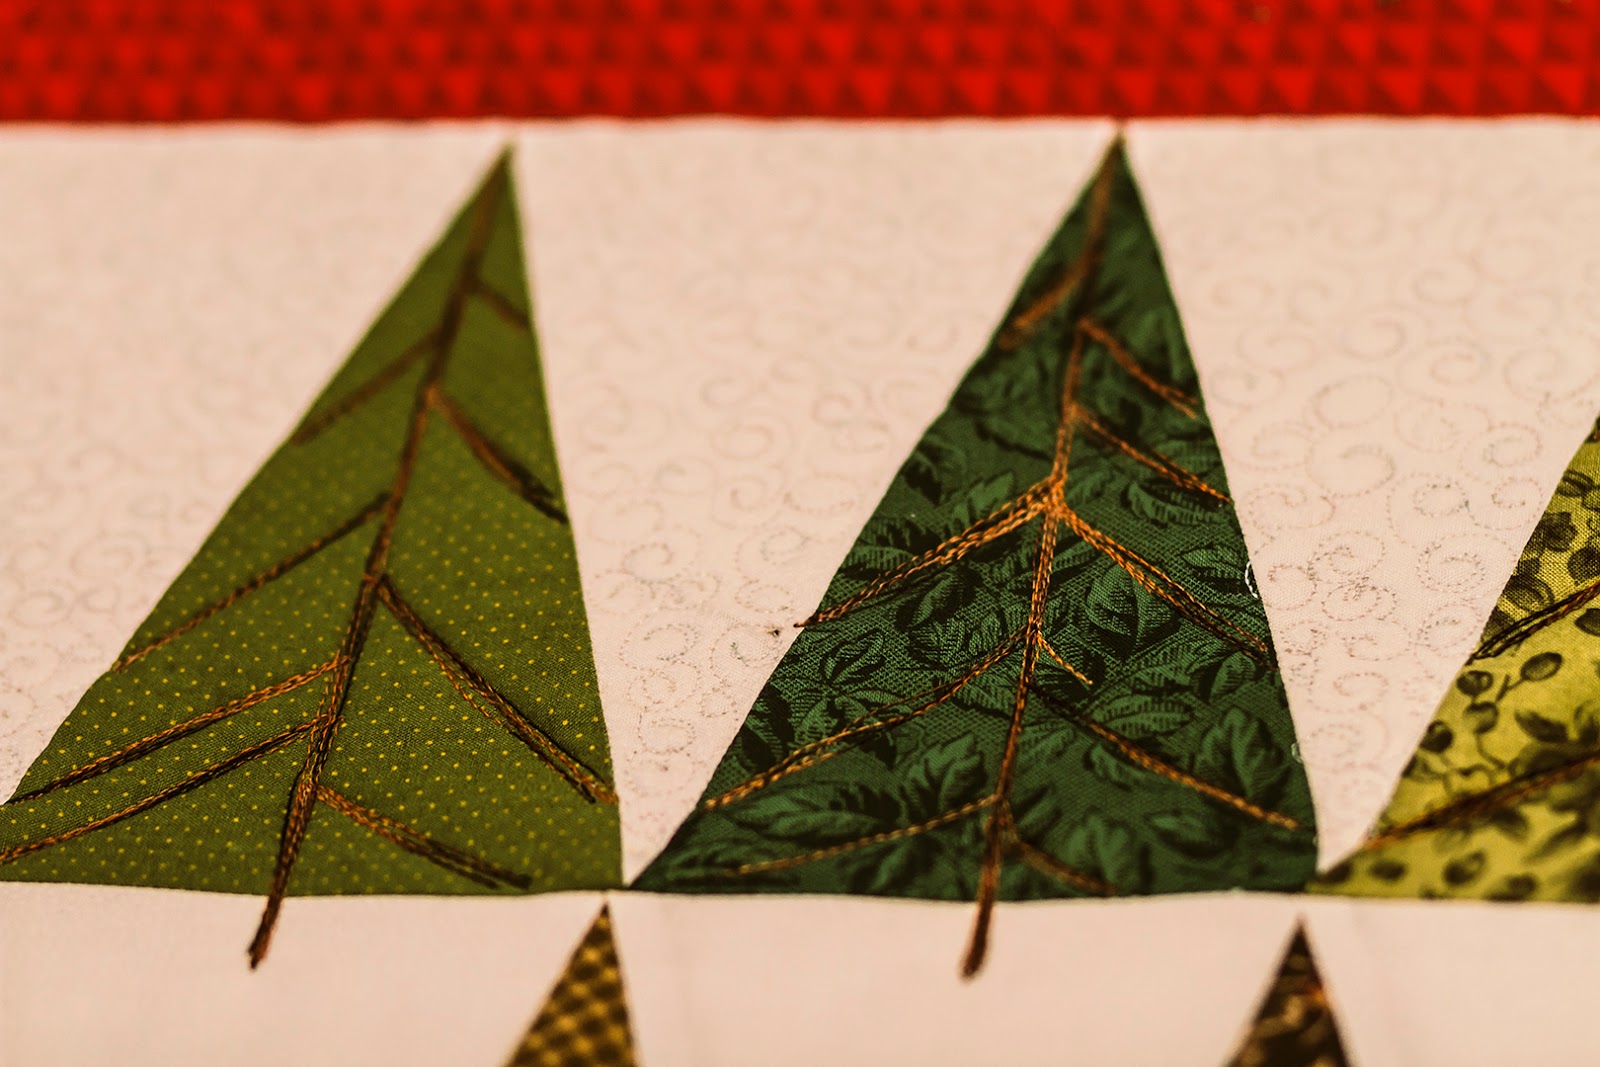
Next was the Christmas trees themselves! I used King Tut again (this time #981 Cobra) for the branches. It was a very striking effect, and I like how every tree is slightly different - almost like real life! 


Between the Christmas trees, I used Fantastico #5170 Pixie Dust to create curls that looked a little bit like swirling snow. This thread was beautiful to use, and it wasn't a thread that I would have immediately thought to use with a white background. On the cone it looks a lot more colourful! It blended beautifully, leaving behind a wonderful, snowy texture. 

The final quilt looked a LOT like the original Christmas card that mom based her piecing on. We like the quilted version better though! 


Saturday, 12 December 2015

It started with a Christmas card...


It all started with a retro 1950's Christmas card. 

I thought that this 1952 Christmas card by Charley Harper could translate really well into a Christmas quilt so I pinned it on my Christmas pinterest board. I like using pinterest boards as  design boards for various quilts that are percolating in my head. The pinterest board keeps all the ideas in a place that I can actually find when I want to come back to it later.


This year when we were planning a Christmas video clip for our friends at Superior Threads we decided to translate the card into a quilt. Because I love the quilting part best these days, I usually see the pieced top as a 'canvas' for the quilting.  When I piece a quilt I am already thinking about how to quilt it. I was thinking even at the start of the project how fun it would be to draw the branches with the sewing machine needle and thread.


First I raided my green fabric stash and  pieced the trees. I used So Fine #50 for the piecing with Bottom Line pre-wounds in the bobbin. These very fine lint-free threads gave me flat seams and nice sharp points for my triangles.


Then I needed to appliqué my tree-cutter person in the larger white triangle. I used Kimono Silk on top and Bottom Line pre-wounds in the bobbin for the machine appliqué.  


These silk threads blend so well with the fabric! I like how the raw-edge appliqué technique makes the figures seem to pop-up out of the quilt.


Finally we decided to add a wide red border. We were planning to use this border to quilt a holly and ivy garland to frame the trees.


Here's the top all pieced and ready to go on the JUKI QVP 2200 long arm frame. We'll talk more about the quilting in the next post...

Friday, 11 December 2015

The Holly and the Ivy


Here's a special Merry Christmas from Superior Threads.
Martha made the quilt,
Emily quilted it on the JUKI QVP and
Ellie created and performed her original version of the Christmas carols.

We hope you enjoy it and would love to hear your comments. Coming soon is a post about how we made it.