Thursday 16 May 2013

May Threads

ducklings on the go
Sorry for the short notice, but Trudi is desperate. So I'll be sending my May thread order to Superior Threads tomorrow. Email or ring to let me know if there's anything you'd like me to add to the list.
martha@machinequilter.co.uk
01526 378057 
They'll be ready to post to you next week.

Superior Thread cones all in a row

I surprised this family of ducks this morning.
The fantastic range of Superior Threads colours 
lets me capture the moment

1 2 3 4 5 6 7, 8 9 10 she has 11!
Bulk Buy Discount: 
buy 10 cones and get the next one free. 
That's 11 for the price of 10!

Saturday 11 May 2013

Raw Edge Applique

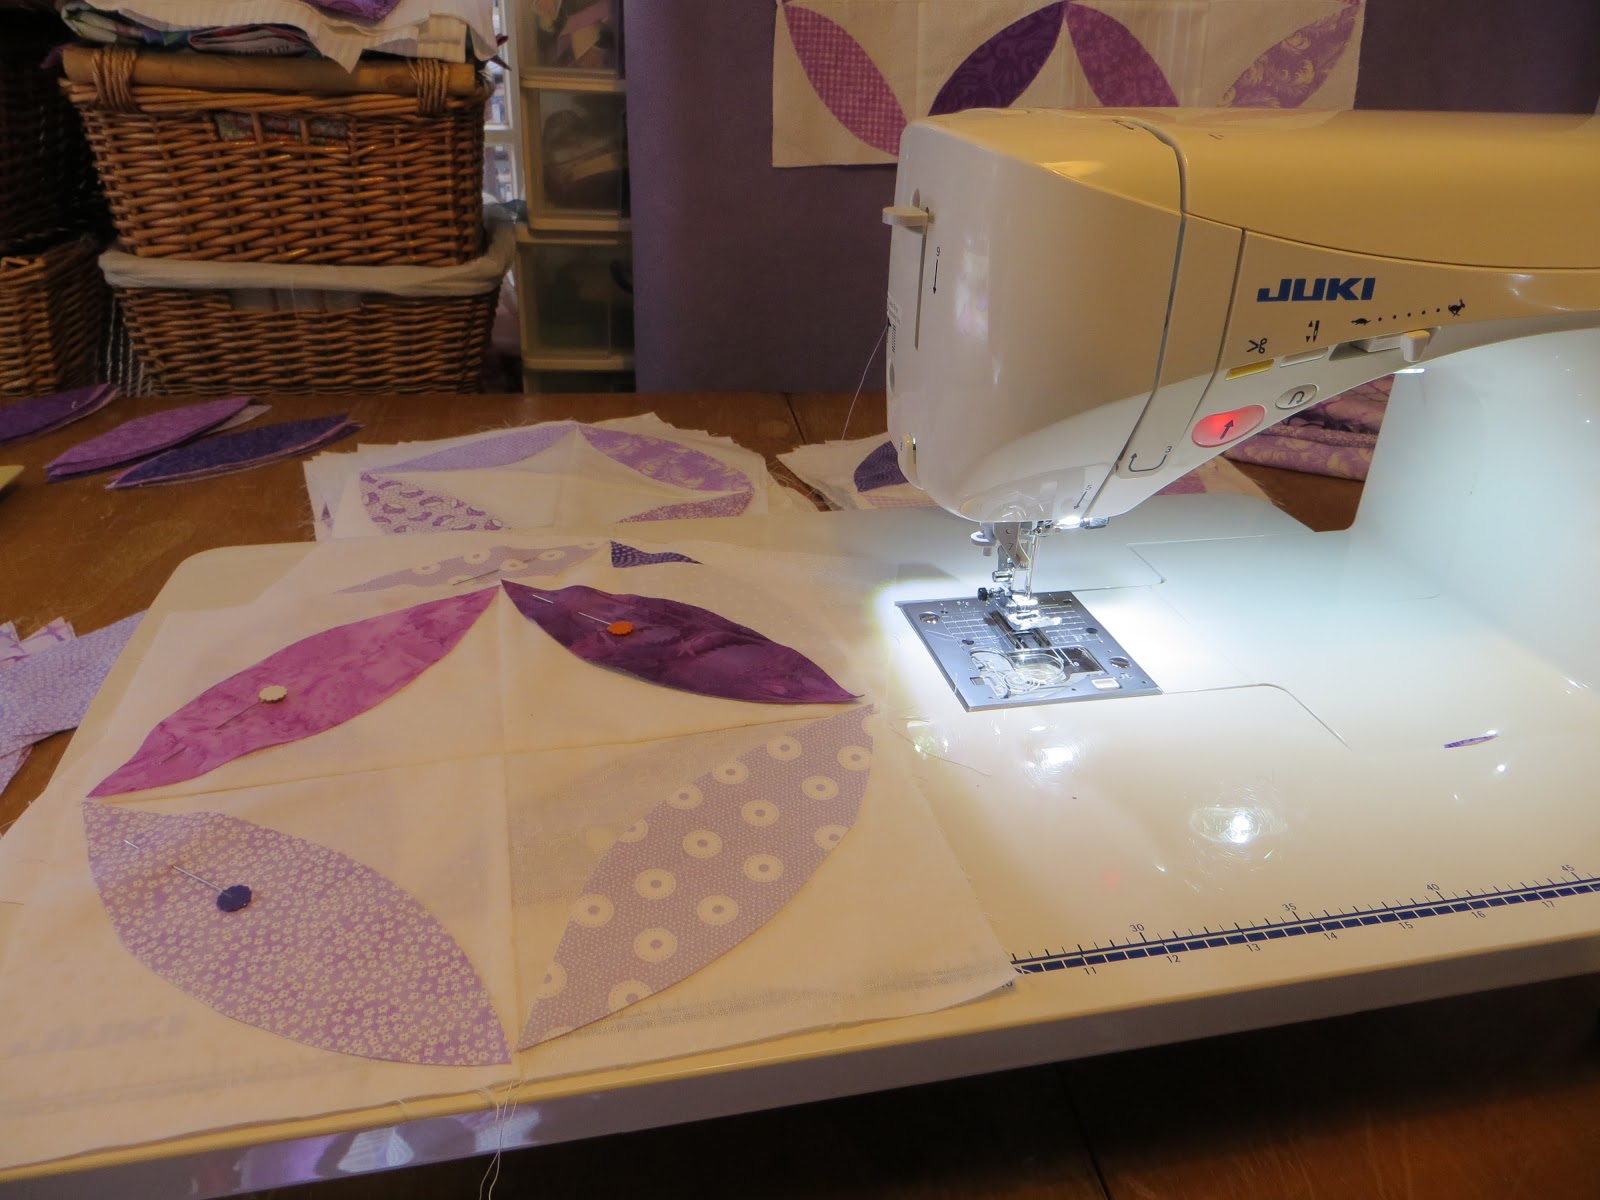
Raw edge appliqué on the Juki HZL Exceed 600 
 Here's a quick raw edge appliqué tutorial. I began by preparing the fabric.

Vilene to stabilize the fabric

I ironed a thin fine Vilene to the back of the purple fabrics to give stability and support.

it only needs 8 seconds to stick

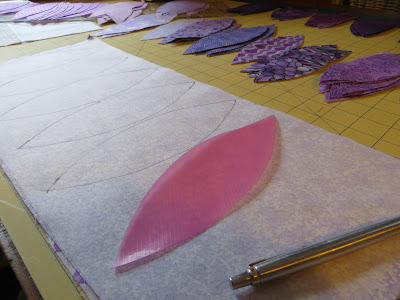
trace the template on the vilene - the back of the fabric
 I used a ball point pen to trace the template.

tracing the template
I used the Shelby instant download PDF pattern for the template. I cut it from a plastic folder and traced it will a ball point pen onto the vilene back of the purple fabric.

cutting out the 'petals'

Then I cut out the 'petals' making sure to cut off the ball point ink. Now I was ready for the appliqué.

pinning the purple petals

I pinned the 'petals' in place diagonally across the pieced squares.

I used some fleece to make a design wall and pinned up my practice piece
I chose a light purple thread #607 from the Bottom Line range of Superior Threads. This is a very fine thread designed to go in the bobbin but it's perfect for machine appliqué. This thread is so fine that it will disappear into the fabric.

# 607 Light Purple Bottom Line on top and #624 White in the pre-wound bobbin
These larger cones are cross wound and need to come off from the top of the cone. This thread stand allows me to use the economical larger cones with any sewing machine. I simply place the cone on the thread stand, thread it through the loop and thread the machine as normal.

This simple thread stand lets me take advantage of the larger cones
The amazing box feed on the Juki HZL Exceed 600 makes this machine a dream to machine appliqué with. The seams lie straight and flat with no puckering. Perfect! This raw edge appliqué technique is so much quicker than the hand basted method that I used the first time. I'm thrilled with how quickly the project is coming together.

the industrial box feed on the Juki Exceed 600 makes a lovely line of stitching

Friday 10 May 2013

Lilac Quilt


Once we had the colours sorted we needed to decide on a block pattern for the quilts. The twin beds were each going to need a quilt. So it was going to be double the trouble but twice as nice!We decided to go for an orange peel or pumpkin seed pattern. It had a nice retro feel to it. I'd used the pattern several years ago to make a leaving present quilt for the children's school secretary and each 'peel' had been basted and hand appliquéd. It was gorgeous but there had to be a quicker way.

'Shelby' quilt pattern by Lulu from For the Love Designs


I'd seen some fresher versions of the orange peel pattern popping up on pinterest. I decided to try a raw edge appliqué technique beautifully presented by Lulu from For the Love Designs. She calls her patterns by children's names and I bought an instant download PDF of this Shelby pattern. Lulu made a baby quilt version by drawing a grid on the white fabric. A neat idea but I wanted the 'cathedral window' look you get from the pieced squares. So in the end I adapted the pattern to get the look I wanted.

4 white squares sewn together and 4 'petals' pinned ready to applique'
Rosie and I chose lots of different purples and whites to make up the blocks. Four 5 1/2 inch squares together made up the larger circle block that will measure 10 inches square at the finish


But if you look at the seam where the circles join, they look like the 4 petals that make up the many little blossoms on a lilac flower. Perfect!

Source: 500px.com via Martha on Pinterest

Thursday 9 May 2013

Rosie's Room

Rosie is our 3rd daughter. When Emily moved out to go to University, Rosie got to have a room to herself! In a big family this is a treat. It's a lovely little attic room with low slanted ceilings, just big enough for 2 single beds. The low slanted ceilings are such a nice cozy feature and we decided to accentuate it with a stencil around the edge. It was our first try at stencilling and to me it felt like putting a border around a quilt.

just room enough for 2 single beds

carefully lifting the stencil

such a lovely line design

matching for a seamless join

Ta dah!

Because the room is so small, we kept the colours simple, just lilac and white. Early on in the project I created a pinterest board which we used as a design wall. We could pin pictures of rooms or colours or fabrics that were inspirational. The simple colour scheme was restful. The white made the room look larger. We used a light reflecting paint on the walls to help.We loved how the stencilling turned out! Now we were ready to start collecting fabric for the quilts.

Sunday 5 May 2013

Blossom


After the longest winter in 50 years, the warmer weather is a balm to my soul. Now there is blossom everywhere. It's almost as if after all the weeks of waiting everything decided to come out all at once.

Peter's pear tree blossom

Ellie's ornamental cherry blossom

Rosie's apple tree blossom

the view over the fields from Ellie's window
 After all the waiting, spring seems in such a hurry to run into summer. All we need is one gusty storm and all the lovely blossom will blow away. The photos capture the fleeting moment, holding the image still enough to re-create in textiles. My blossom pinterest board will keep the images fresh the year long.