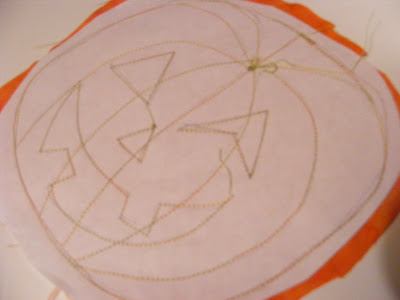
They're called Stained Glass Pumpkins because we hang them in the window and the sun shines through so they glow. Today we decided to make a tutorial to share. First Peter got some paper and drew a pumpkin shape with eyes nose and mouth. Freezer paper works great but we were out so today we just used ordinary paper.
Then we pinned the paper to some pumpkin colored fabric and sewed around the drawn lines.
Next Peter flipped it over so the fabric side was on top and sewed over all the lines again. He's using a variegated thread from Superior Threads' King Tut range #934 Nile Delta

Next Peter flipped it over so the fabric side was on top and sewed over all the lines again. He's using a variegated thread from Superior Threads' King Tut range #934 Nile Delta

Now Mom got some sharp pointy sizzors and snipped very carefully around the inside of the sewn lines.


Peter chose some yellow fabric to 'shine through' the holes in the pumpkin.
Here mom is ripping off the paper around the outer edge of the pumpkin. The needle has perforated the paper so it's easy. The rest of the paper we just leave in because it helps the pumkin to hold its shape.


Now put the WRONG side of the yellow fabric against the RIGHT side of the pumpkin. This way when you turn it inside out the right side of the fabric will be shining through the holes and sew around the outside edge. Leave a few inches un-sewn so you can turn it inside out.


Now cut around the sewn pumpkin shape leaving a quarter of an inch, then snip the the curves like an arm hole. Turn it inside out and machine stitch the last bit together.


3 comments:
Looks like a fun project and that the kids had fun, that is the most important thing.
Yes they did! The great thing this time around is how much they were able to do independently. I kept an eye on the proceedings and sorted out the sewing machine but mostly they got on with it on their own.
What great fun you've been having! They are fabulous!
Post a Comment