Showing posts with label Emily Milne. Show all posts

Friday, 18 December 2015

Quilting a Christmas Card

The whole time that my mom was piecing the Christmas Tree card quilt, she and I were discussing how to quilt it. We decided that we wanted to quilt a garland of holly and ivy in the wide red border.

For me, the first step in quilting a new pattern is always to practise it on paper before I even think about approaching the machine. I have a huge long roll of tracing paper that I like to use for practising my quilting designs. I practised the pattern below for a couple hours (the image is slightly grainy because tracing paper doesn't seem to like being photographed!). Mom even brought me in some ivy from the garden so I could try and copy it more accurately!


Then came the actual quilting! We loaded the quilt onto the frame, and then auditioned some threads to see which ones we would use first.  


We ended up using  King Tut #988 Oasis for the garland. The King Tut creates a beautifully bold line, and we really wanted the quilting to stand out. In the image below, you can see the end of the garland. this is actually two layers of thread - I used Twist, and then King Tut #988. The berries were done using Magnifico. 


Next was the Christmas trees themselves! I used King Tut again (this time #981 Cobra) for the branches. It was a very striking effect, and I like how every tree is slightly different - almost like real life! 
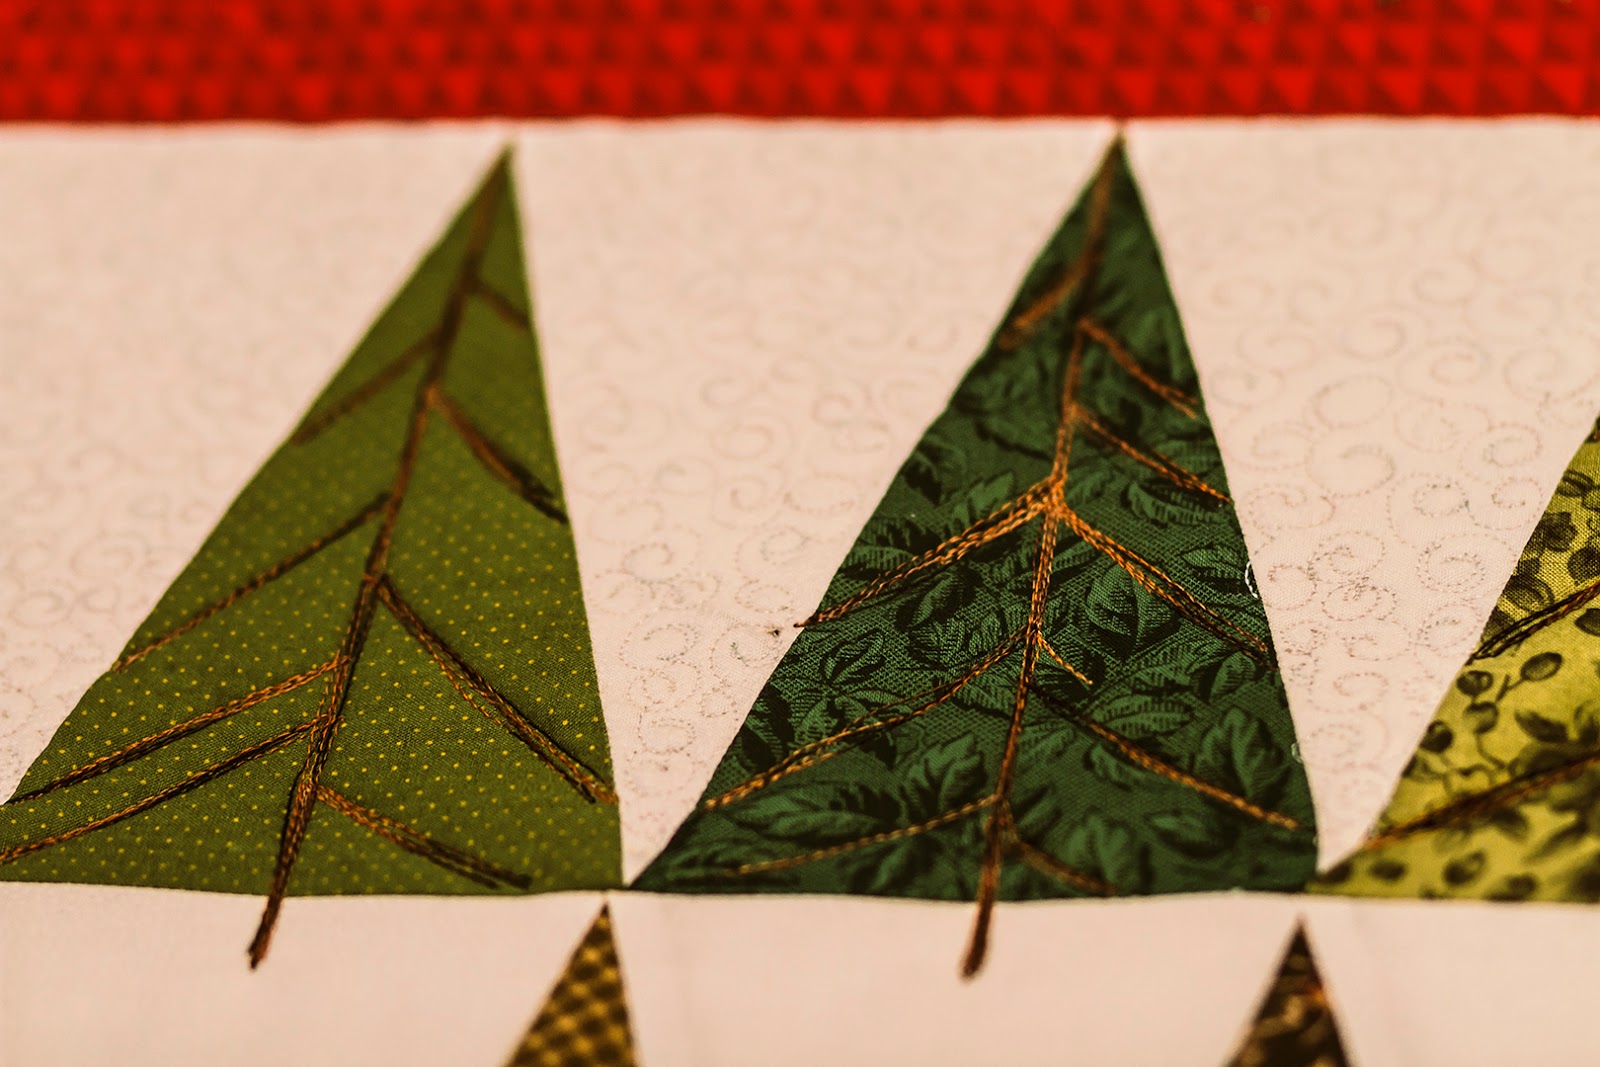


Between the Christmas trees, I used Fantastico #5170 Pixie Dust to create curls that looked a little bit like swirling snow. This thread was beautiful to use, and it wasn't a thread that I would have immediately thought to use with a white background. On the cone it looks a lot more colourful! It blended beautifully, leaving behind a wonderful, snowy texture. 

The final quilt looked a LOT like the original Christmas card that mom based her piecing on. We like the quilted version better though! 


Friday, 11 December 2015

The Holly and the Ivy


Here's a special Merry Christmas from Superior Threads.
Martha made the quilt,
Emily quilted it on the JUKI QVP and
Ellie created and performed her original version of the Christmas carols.

We hope you enjoy it and would love to hear your comments. Coming soon is a post about how we made it.

Monday, 27 October 2014

Quilt Forum in St Petersburg

JUKI QVP2200 all set up and ready to go


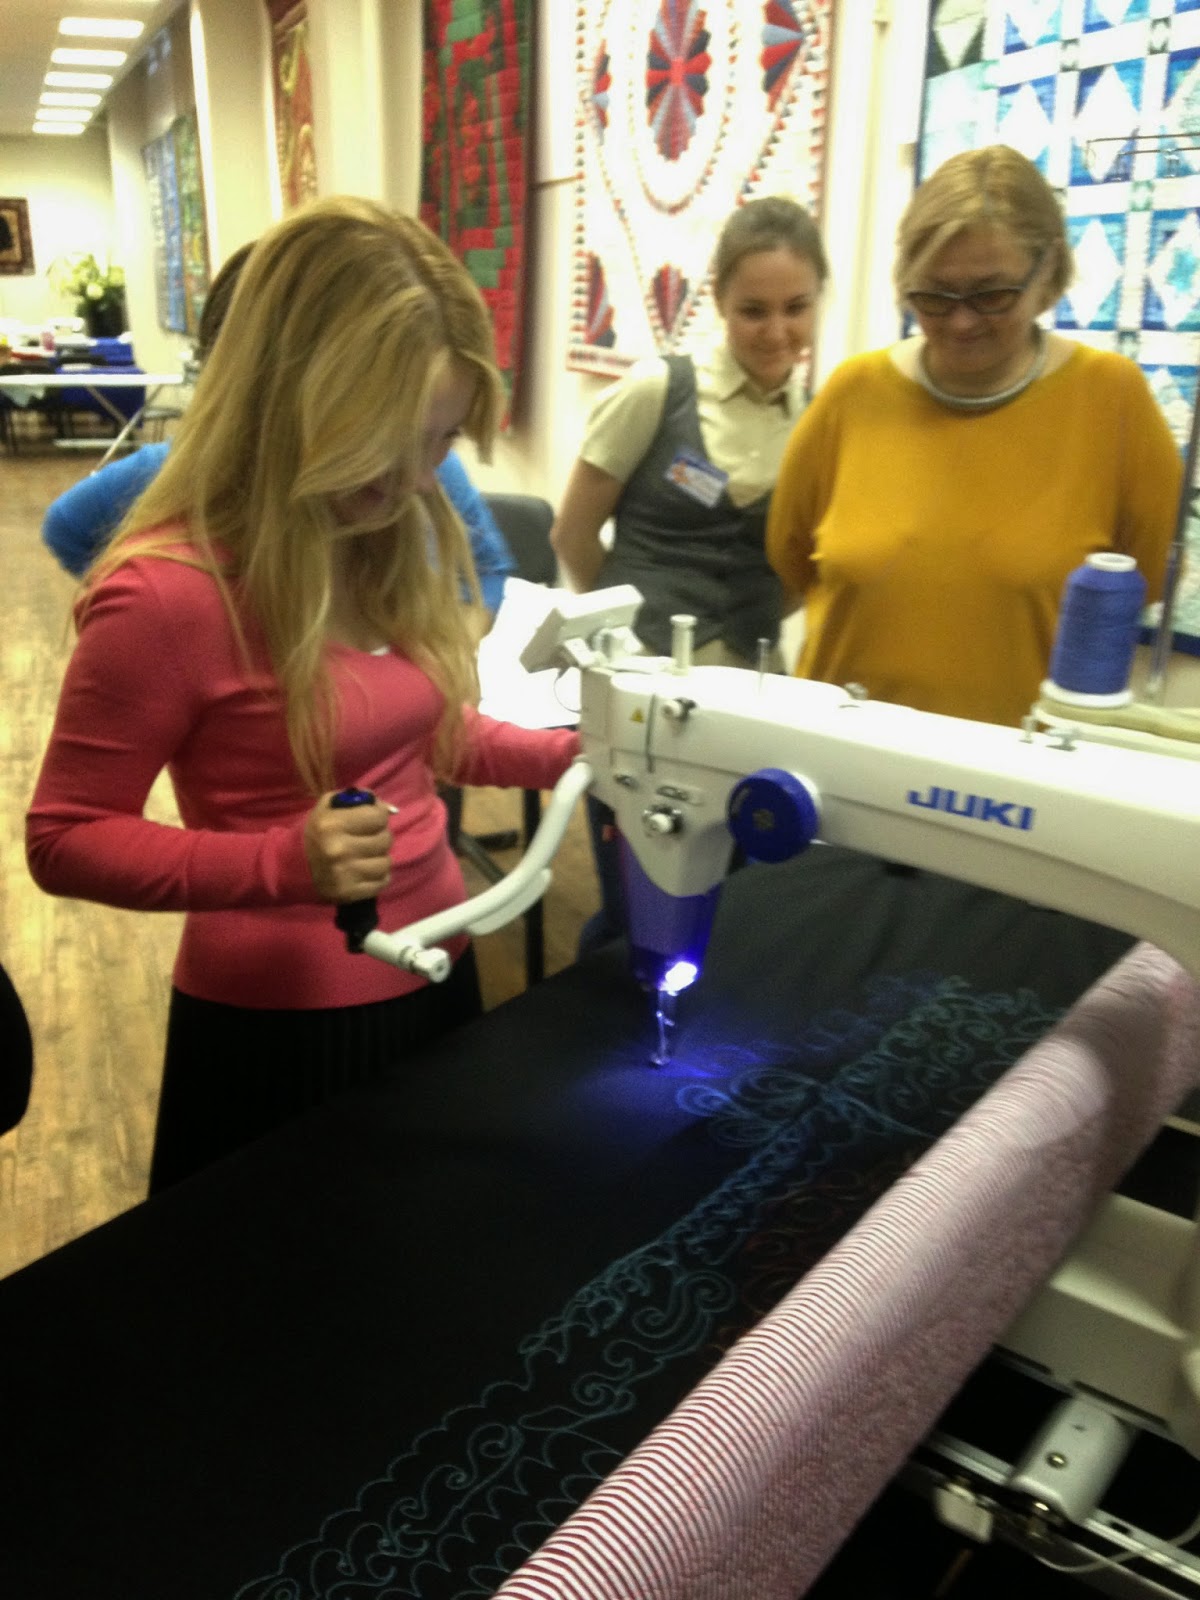
Our first job was to get the JUKI 2200QVP set up and ready to roll.

We thought that the bright variegated Fantastico thread looked like firebird feathers against the black fabric background..

Everything was working beautifully and we were all ready for the Quilt Forum University class later in the day.


pretty feathers and swirls by Emily Milne


This JUKI long arm QVP goes 2200 stitches per minute, 
glides like a dream 
and creates beautiful lines of stitching!
Quilt forum University - first try on the JUKI QVP2200
Look at the smiles! It is so fun to bring quilters together to try great tools. This was the first time that most of these ladies had ever tried a long arm quilting machine. They were so excited to try the JUKI QVP2200!

Emily and Martha demonstrated free-motion quilting on the JUKI QVP
 Everyone was keen to see how the long arm quilting machine worked.

Martha demonstrating doodling line designs
We showed how doodling line designs with pen and paper helps us to gain fluency on the long arm quilting machine. Everyone had the chance to practice line designs on paper and then to draw the same design with needle and thread on the new JUKI QVP2200 long arm.

King Tut cotton onthe QVP2200
 Each time we tried a new design we changed the thread. So everyone could see how various plain and variegated threads cotton, trilobal polyester, silk and metallic threads performed on the JUKI QVP2200.

one lady drew a rooster with Super Metallic variegated gold thread
One clever lady drew this rooster with Superior Metallic variegated gold thread. We all gathered round and applauded her creativity. It's so exciting to see waht happens when people start using the sewing machine needle like a pen!

Quilt Forum venue - an enormous Department Store in St Petersburg
 The Quilt Forum venue was a lovely room in this enormous department store that took up an entire city block.

pretty line designs on the JUKI QVP2200
doodling with different ranges of Superior Threads

Thursday, 19 September 2013

Happy Endings

Emily started with the feathers
first down one side of the 'seed'  then up the other
Emily is left-handed and uses her left hand under the arm to guide the machine
notice the scalloping on the inside of the purple 'seeds'
A view of the first half of the final border feather
finishing the last half of the feather
machine quilting detail
As we come to the final feather I want you to look back at the last 3 pictures and notice how the pins stick up. This is why we pinned the quilt top to the BACK of the 2nd leader on fabric pole #2. Pinning to the back makes the pinned seam stick up so that Emily wont stitch the quilt to the leader fabric by mistake.

notice the hand's width of space available at the end
 This is a single bed quilt and we've loaded it on the frame so that we are only quilting through the width of the quilt. Our goal is to keep the roll of fabric under the arm of the sewing machine as small as possible. At the end of the quilting, Emily still has a hand's width of space available to quilt. So, if Emily keeps her quilt patterns to a hand's width through out the whole quilt, she will be able to keep the scale of the pattern consistent from the start of the quilting to the end.

feathers create such beautiful un-quilted space
throwing the un pinned quilt over the frame for a photo finish
Emily is so happy with her finished quilt. 
Rosie is going to be happy too!!

Wednesday, 11 September 2013

Swan Song


Geneva, Switzerland from the sky
Emily's heading off for a term in Geneva, Switzerland. They speak French in Geneva and Emily will be taking courses at the University there in French language and translation. Very exciting! But before heading off to foreign parts Emily quilted Rosie's 'Purple Pumpkin Seed' quilt.

This Juki Exceed 600 was perfect for the appliqué and piecing 

We've been busy collecting the fabric and appliquéing the pumpkin seed shapes, and piecing the blocks together. I ordered some White Sew Simple Super Soft  Cotton wadding from Doughty's online shop and some classic purple gingham for the backing. But now we were ready to get it all loaded on the frame and get quilting.

pinning detail - all layers of the quilt pinned to the first leader
We'd been playing around with quilting ideas for months on various bits of paper. But in the end we chose a scallop pattern to quilt round the inside of each seed and a feather to fill the square.

quilting design doodles
Then we had to decide about the threads. We chose a Lyrical Lilac  Magnifico #2122 from Superior Threads for the scalloping inside the pumpkin seeds. We thought that this shade looked nice against all the different colours of purple.

Magnifico #2122 Lyrical Lilac from Superior Threads
We went for a white silk from the Kimono Silk range for the feathers. We wanted a delicate look for this quilt and the Kimono silk was just the fibre to create the subtle texture that we wanted.

Kimono Silk #373 White Rice
One of the final stages in getting ready to quilt is to sew a sashing strip on the side edges of the quilt. This gives me a place to play with my tension before moving into the 'real quilt'.

Add notice the side sashing strips attached to each side of the quilt top
I try to do most of my starting and stopping on these sashing strips so I don't have to worry about sewing in the thread tails. The side sashing strips also provide the perfect place to attach the side tension clips. The side sashing makes sure that the side tension is nice and even.

playing with my thread tension on the side sashing strips 

Then at the end when I take the quilt off the frame, I can simply slice off the side sashing strips with the rotary cutter.

slicing off the side sashing strips once the quilting is finished
 Once all the design and thread choices are made and the quilt sandwich is loaded on the frame, the fun begins!


Tuesday, 13 August 2013

Star of the Show

Ikuko tries the new Juki QVP long arm while Emily smiles
I'd have to say that for us, the star of this year's Festival of Quilts show was the new JUKI QVP long arm.

Emily with an excited quilter
Thursday was the opening day as JUKI QVP long arm machine
was demonstrated in Europe for the first time.
People trying it just couldn't help smiling.

Laurence Franklin (on the left) the UK Distributor for JUKI sewing machines
This JUKI Long Arm is so very popular in America that Laurence Franklin, our JUKI distributor here in the UK, decided to bring it to the Festival of Quilts this summer.


JUKI business leaders from central Europe flew over to have a look and give it a try.

Chris, part of our film production crew, has a go
 We all did! It was hard to resist and even people who weren't quilters wanted to see what the JUKI QVP long arm would do.

some nice stitching as Emily runs the JUKI QVP through it's paces
We've been waiting a long time for JUKI to bring out a long arm sewing machine. This new JUKI QVP was worth the wait!

My turn on the JUKI Quilt Virtuoso Pro

Friday, 12 April 2013

April Retreat


Lexie and Martha on the 6 foot Art Quilter frame
 Our April Machine Quilter's Retreat was lovely. Small is beautiful! With three participants and three tutors there was plenty of one on one instruction.  Joy and Lexie were experienced quilters but relatively new to machine quilting on a frame. Both brought their Juki TL98 P sewing machines so we could help to get them properly tensioned for free-motion quilting.

talking about loading the quilt sandwich
Joy and Lexie wanted to consolidate basic skills and move on to the next level. We explore trouble shooting techniques beginning with sewing machine tension. 

Joy practising a new line design on the frame
We move on to drawing designs with pen and paper and then we go to the frame and execute the same designs with the needle and various threads. Then we introduce a new design and go through the process all over again.

Joy drawing an E's and 3's design
The pen and paper exercises enable us to master the line design and move with it. One of the best things about hand guided machine quilting is that the line designs are like handwriting. The same designs flow differently from different people.Each person brings their own style and personality to the design. On a very practical level we all learn from each other.

Lynda working on feathers
Lynda came on our January Retreat and progressed so quickly that she came back to our April Retreat for more. Lynda spent this retreat working on feathers with Trudi Wood. It was fun to have people with mixed abilities working together. I think that by our next Retreat Lynda will be teaching us all!

Lynda drawing feathers under Trudi's watchful eye : )
First on paper and then on the frame. Fantastic!!!!

penguin feathers on the practice piece
The feathers were so fun that Emily had to have a go! She's definitely doing feathers on her next quilt.