Tuesday, 28 October 2014

Architectural Elements


Visiting St Petersburg is like walking into an enchantment. The architecture is in a grand style with ornate Baroque carvings, soft and vibrant colours, unusual ornaments, all manner of statues erected on the rooftops and embellished on the walls. 

The skyline is rife with guilded domes and spires. There are pillars and columned arches, wide streets criss crossed by the many bridges, large and small. The rippling water everywhere providing the perfect contrast to the still stone. 

Spectacularly stunning,  piercingly beautiful. A textile artist could not fail to be inspired. Words fail, so I will let the pictures talk.


Emily, Kanako san and Gadzhi Kadiev
JUKI Corporation brings together Emily and Martha from England, Kanako san from Japan and Gadzhi Kadiev from Russia to promote the new JUKI QVP2200 long arm quilting machine in St Petersburg.

Monday, 27 October 2014

Quilt Forum in St Petersburg

JUKI QVP2200 all set up and ready to go


Our first job was to get the JUKI 2200QVP set up and ready to roll.

We thought that the bright variegated Fantastico thread looked like firebird feathers against the black fabric background..

Everything was working beautifully and we were all ready for the Quilt Forum University class later in the day.


pretty feathers and swirls by Emily Milne


This JUKI long arm QVP goes 2200 stitches per minute, 
glides like a dream 
and creates beautiful lines of stitching!
Quilt forum University - first try on the JUKI QVP2200
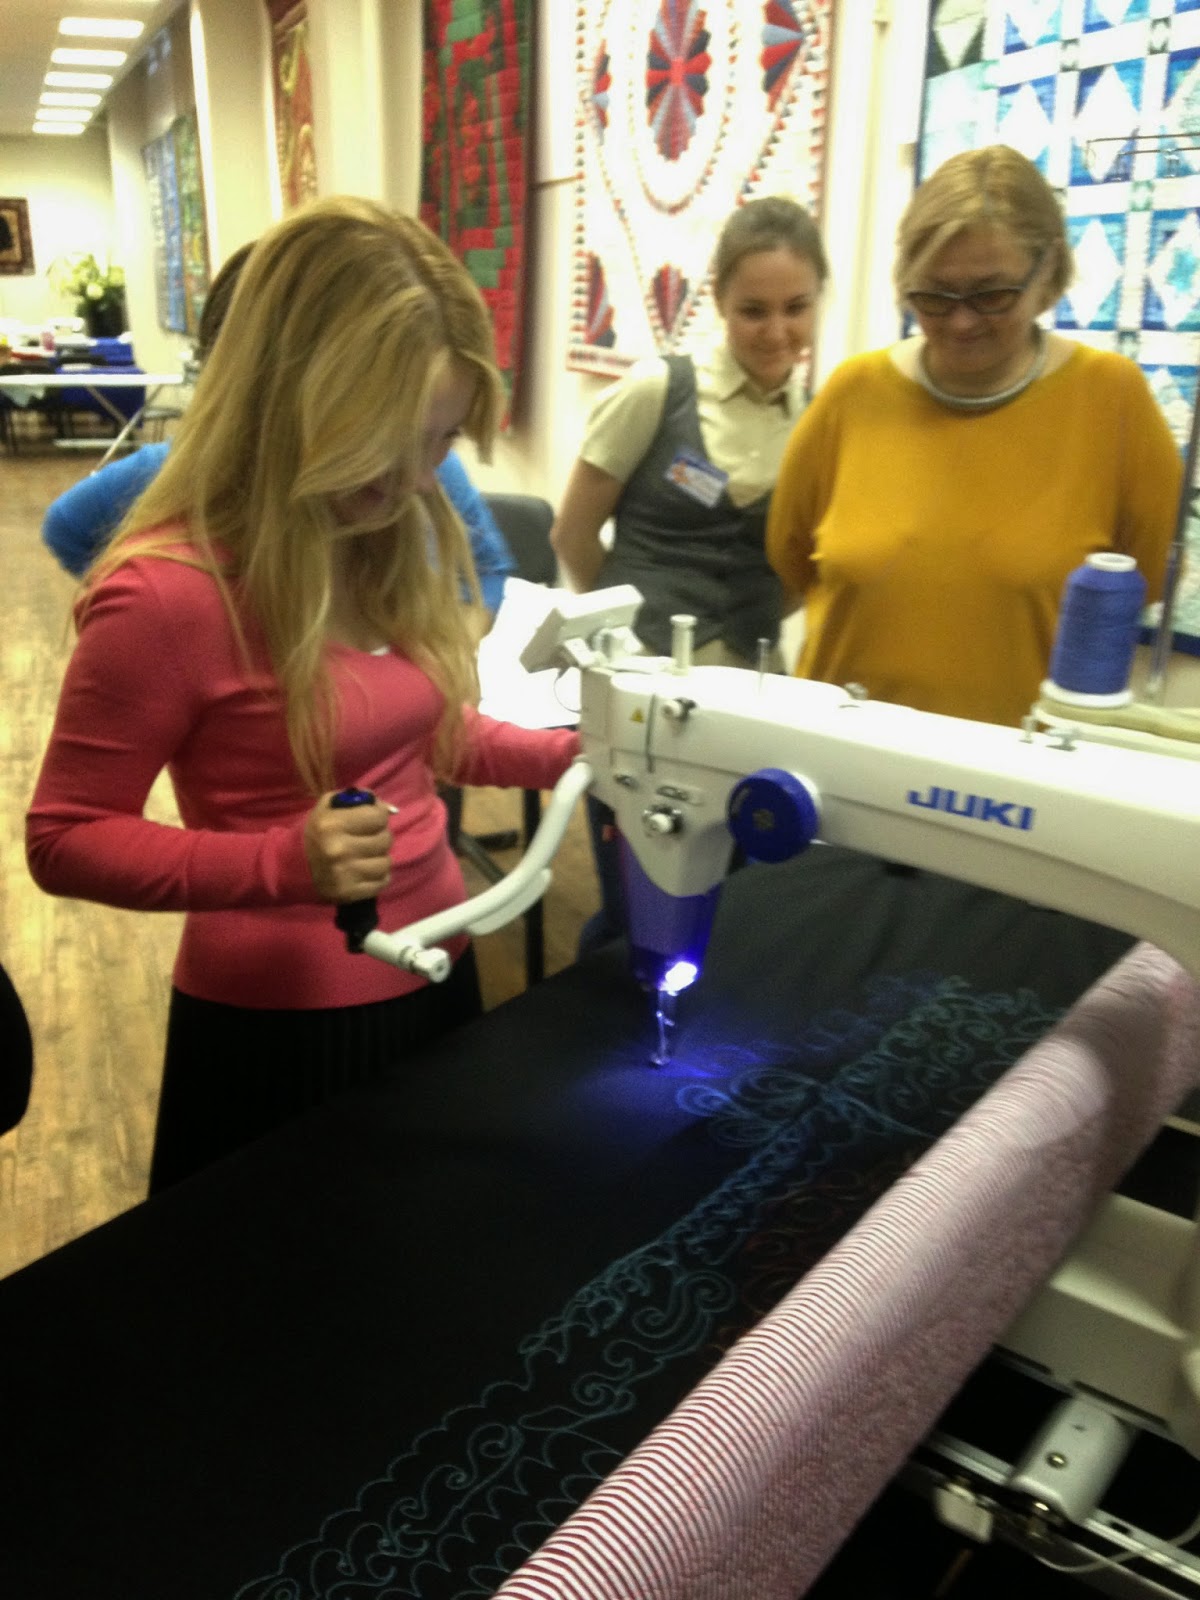
Look at the smiles! It is so fun to bring quilters together to try great tools. This was the first time that most of these ladies had ever tried a long arm quilting machine. They were so excited to try the JUKI QVP2200!

Emily and Martha demonstrated free-motion quilting on the JUKI QVP
 Everyone was keen to see how the long arm quilting machine worked.

Martha demonstrating doodling line designs
We showed how doodling line designs with pen and paper helps us to gain fluency on the long arm quilting machine. Everyone had the chance to practice line designs on paper and then to draw the same design with needle and thread on the new JUKI QVP2200 long arm.

King Tut cotton onthe QVP2200
 Each time we tried a new design we changed the thread. So everyone could see how various plain and variegated threads cotton, trilobal polyester, silk and metallic threads performed on the JUKI QVP2200.

one lady drew a rooster with Super Metallic variegated gold thread
One clever lady drew this rooster with Superior Metallic variegated gold thread. We all gathered round and applauded her creativity. It's so exciting to see waht happens when people start using the sewing machine needle like a pen!

Quilt Forum venue - an enormous Department Store in St Petersburg
 The Quilt Forum venue was a lovely room in this enormous department store that took up an entire city block.

pretty line designs on the JUKI QVP2200
doodling with different ranges of Superior Threads

Sunday, 19 October 2014

Going to St Petersburg


"Have you heard 
that we're going to St Petersburg?"


Emily and I have been invited to give a class on free-motion quilting at Quilt Forum University in St Petersburg. We'll be bringing quilts and lots of new and exciting thread ranges from Superior Threads for a Thread Play session on the new QVP 2200 JUKI long arm.


We leave this Wednesday and arrive back in the UK late Sunday. 
If you need to contact us send an email: martha@machinequilter.co.uk 
and we'll get back to you as soon as we can.


Meanwhile, as we prepare for the trip we are so excited to be going back to Russia! Our Moscow trip was so memorable. People are becoming passionate about quilting in Russia! It is exciting to watch it grow.

Marina Mamonova with Emily and Martha in Moscow March 2012
There is so much in Russia to inspire the textile artist! I've been posting gorgeous images on my pinterest board of Russian folk art, landscapes, architecture and textiles.

Chesme Church - St. Petersburg, 
We are looking forward to visiting this enchanting city!

London to St Petersburg

Saturday, 4 October 2014

Loading fleece on the frame

fleece loaded on the NEQ2 quilting frame


When I use fleece instead of backing and wadding I only need to load 2 layers on the frame. 

This tutorial shows how to load a quilting frame with just 2 layers; the quilt top and the fleece backing that also serves as the wadding or batting. 

Because fleece acts as wadding AND backing, it's a real money-saver!

New English Quilter ratchets
 Look at the ratchet ends of the NEQ fabric poles.
They're labelled 1, 2 and 3.


Here they are in the frame; 
number 1 is closest to you as you stand by the sewing machine
 number 2 is in the middle and number 3 is farthest away.

notice the ratchets are on the right hand side of the fabric poles
 You are going to begin with fabric pole number 3, the pole farthest away from you.

Add caption
Take the 3rd fabric pole out of the end pieces and bring it to the front of the frame. This is to make it easier on your back, so you are not bending over the frame to do the pinning. Be sure to keep the ratchet end on your right hand side. On this third fabric pole notice that the leader fabric is coming over the top of the pole.


Fold your fleece in half to find the centre and match the centre of the fleece to the centre line marked on your leader fabric.


Butt the two ends together, with the right side (good side) of the fleece facing down, 

keep the good side of the fleece facing down
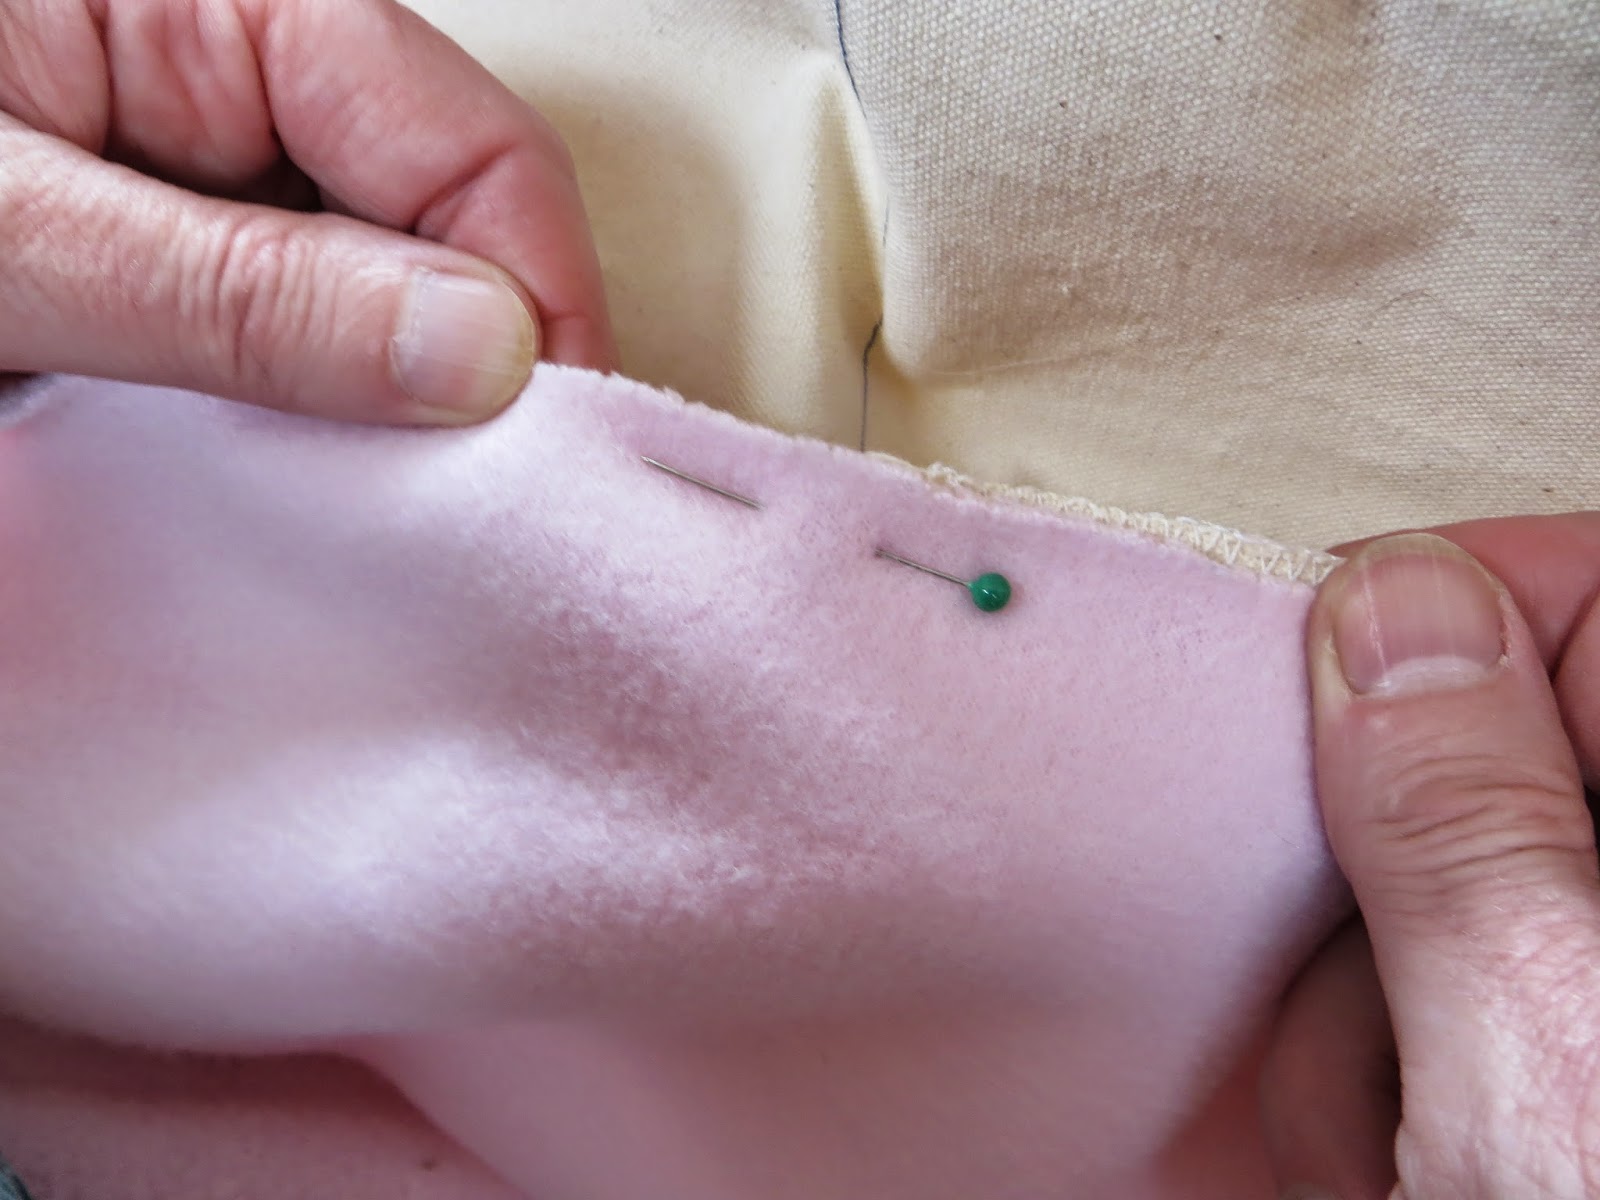
pin from the centre outwards, 


Notice that you are pinning to the back side of the leader fabric. This will keep you from stitching the fleece to the leader fabric by mistake later on when you are quilting.


Carry on pinning all the way to each end of the leader fabric. 


When you get to the end use two pins or a saftey pin.


 Most of the tension will fall on this last pin. Doubling up or using a safety pin will keep the final pin from bending under the pressure.


Now roll your fleece onto the fabric pole smoothing it out as you go,


and drop it back into position on the frame. That's the third fabric pole all loaded.


It should look like this. Good. Now on to the second fabric pole.


You are going to treat the 2nd fabric pole 
exactly the same way as you did the third:
  • take the 2nd fabric pole off the frame 
  • and bring it to the front of the table so you don't have to lean 
  • Fold your top to find the centre. 
  • Pin the centre of the top to the centre of the leader, 
  • butting the two ends together so the back of the quilt top is smack against the back of the leader.  


Pin all the way from the centre to both ends. Finish with 2 pins or a safety pin. Roll the fabric onto the poll, smoothing out as you go along and drop the number 2 fabric pole back in the middle slots on the frame.


Now you are going to go back to the fleece on the third fabric pole. 
Disengage the ratchet so you can pull the fleece forward, 
Fold the fleece in half to find the centre 
and pin the centre of the fleece
to the centre line on the leader fabric on the first fabric pole.


This time you are pinning to the TOP of the leader. Use the line of stitching sewn on the leader fabric to help you align your fleece nice and straight. Take care not to stretch the fleece. Pin from the centre outwards to each end and finish with two pins or a safety pin.


Now re-engage the ratchet tension and tighten the fleece between the 1st and 3rd fabric pole. This makes a sort of table. Finally you will pull the quilt top fabric from the 2nd fabric pole forward and pin it about a centimetre higher than the line of pinning on the fleece. Smooth it out as you go.


If you like you can slip an IKEA ironing board on the table under the loaded quilt sandwich and give it one last iron. Now you're all loaded and ready to start your quilting!


Follow this link for directions on loading 3 layers; of top, wadding and backing fabric. If you have any questions this earlier post may help.

Thursday, 2 October 2014

Piecing Fleece

piecing fleece using the zig zag stitch on my JUKI Exceed 600

I'm going to do a few posts on fleece. I sometimes use fleece as an alternative to backing and wadding.

Fleece can do the job of both backing and wadding at the same time for a fraction of the cost.

Fleece is easy and fun to machine quilt and gives a soft and cuddly finish. What's not to like?

One of the great features of fleece is that fleece doesn't fray!

Which makes it great for all sorts of craftsy projects including quilting.


Here I'm piecing fleece by butting the two edges together and using a zig-zag stitch to join them.


 I do this to avoid the extra bulk that a regular straight stitch seam would make.

Here I've pieced together some scraps of fleece to make a bigger backing. 

I used a grey thread because it was in the machine from when I was piecing the top. If I had changed the thread to match the fleece colour, you would not notice it at all.


Grey OMNI thread is ideal for piecing
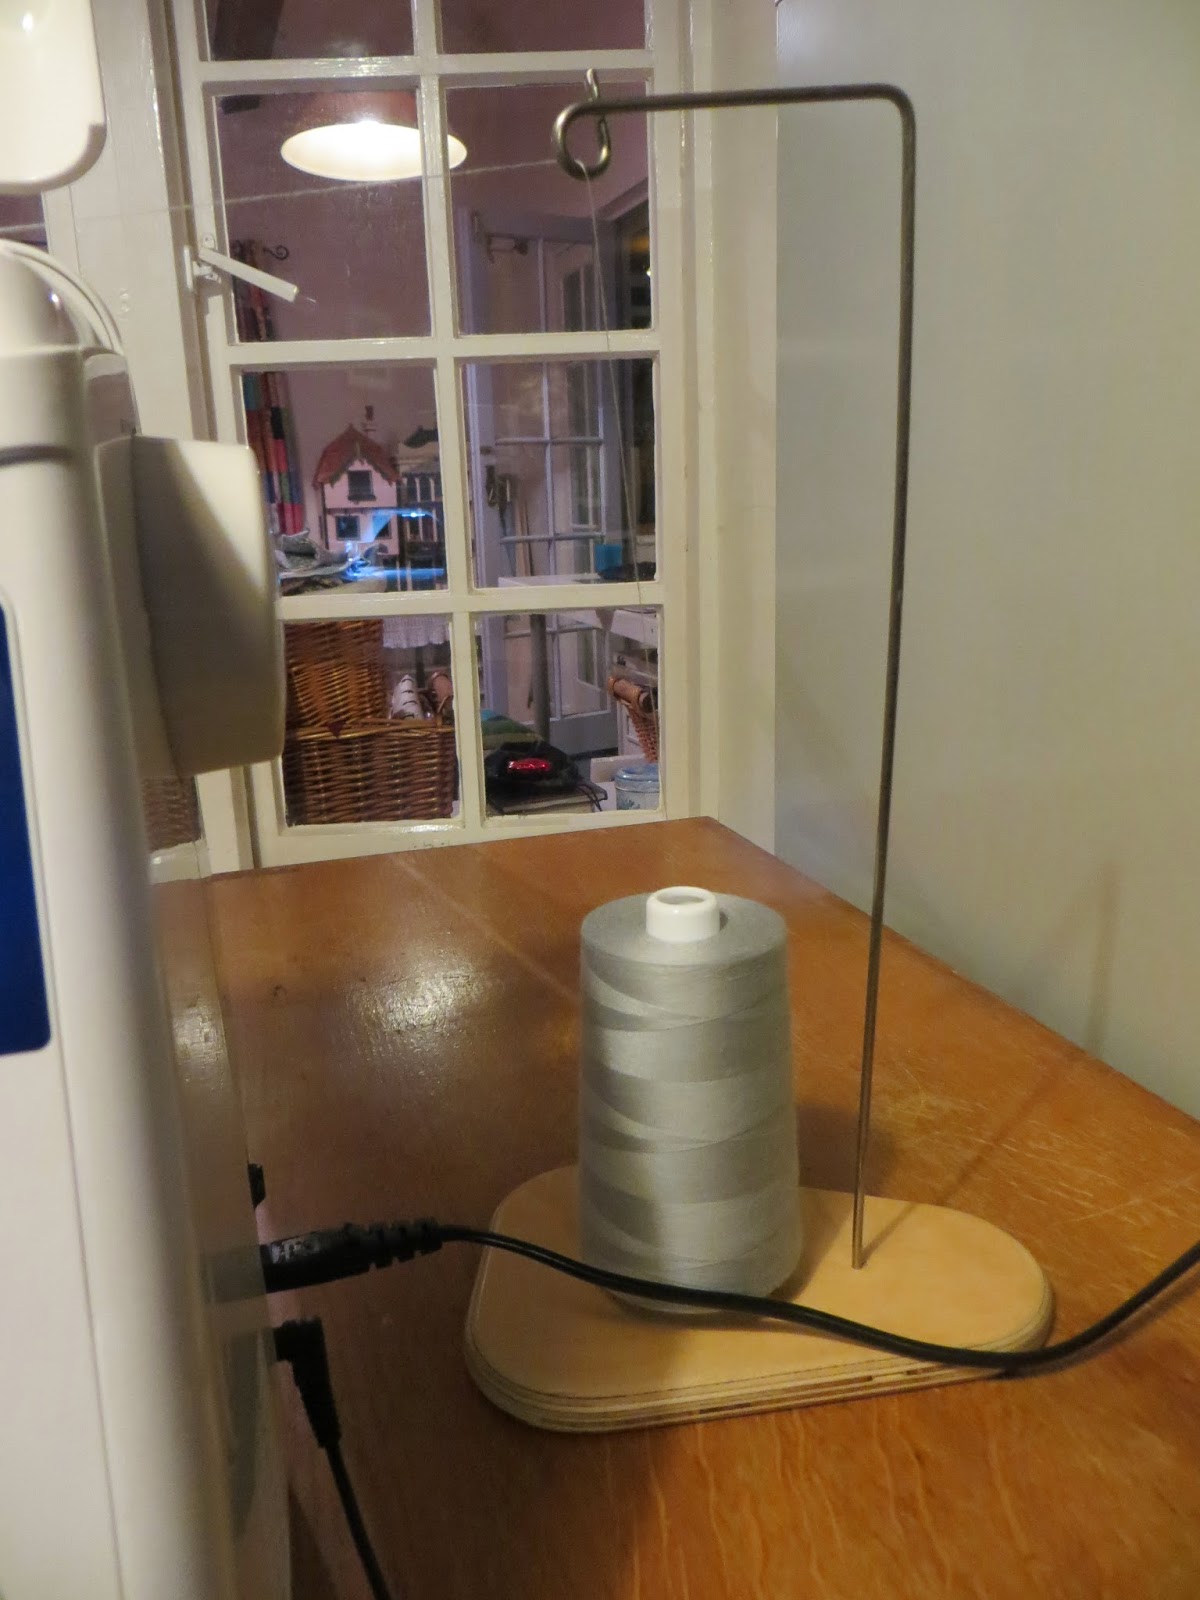
My JUKI HZL 600 sewing machine does not have an extendible thread guide for these larger, more economical cross-wound cones. This thread stand lets me take advantage of the large cones. I put the thread on the stand and run it through the wire loop at the top, then I go ahead and thread my sewing machine as normal.

zig zag stitch for piecing fleece JUKI HZL Exceed 600
I used this pale pink fleece as the backing and wadding for Rosie's university quilt. Notice how nicely the quilting pattern shows up on the fleece backing.

(look at the roll under the arm of the sewing machine) Now that it's getting colder, it makes me happy to think of Rosie all nice and warm, snuggling under her fleecy quilt.

Fabric Online is a great UK source for fleece.

Rosie's university quilt on the 8 foot New English Quilter2 frame